DDNS Setup for Cloudflare
Preface
I decided to set up dynamic DNS for my website (see remarks). As much of a potential help to you as it is to my future self, I will be demonstrating in this article how to set up DDNS for Cloudflare using ddclient.
Setup
The setup is really not that complicated at all. You only need to install ddclient and request an API token from Cloudflare.
To install ddclient, you can either obtain it from a package in your operating system, or download and install it manually via its GitHub repo. I recommend you installing it manually via GitHub, since that way you get the most up-to-date version. Otherwise, if you install an older unsupported version, you may run into issues.
To request an API key from Cloudflare, log into your account and navigate from the sidebar to Manage account > Account API tokens > Create Token. Then, select the pre-configured Edit zone DNS template.
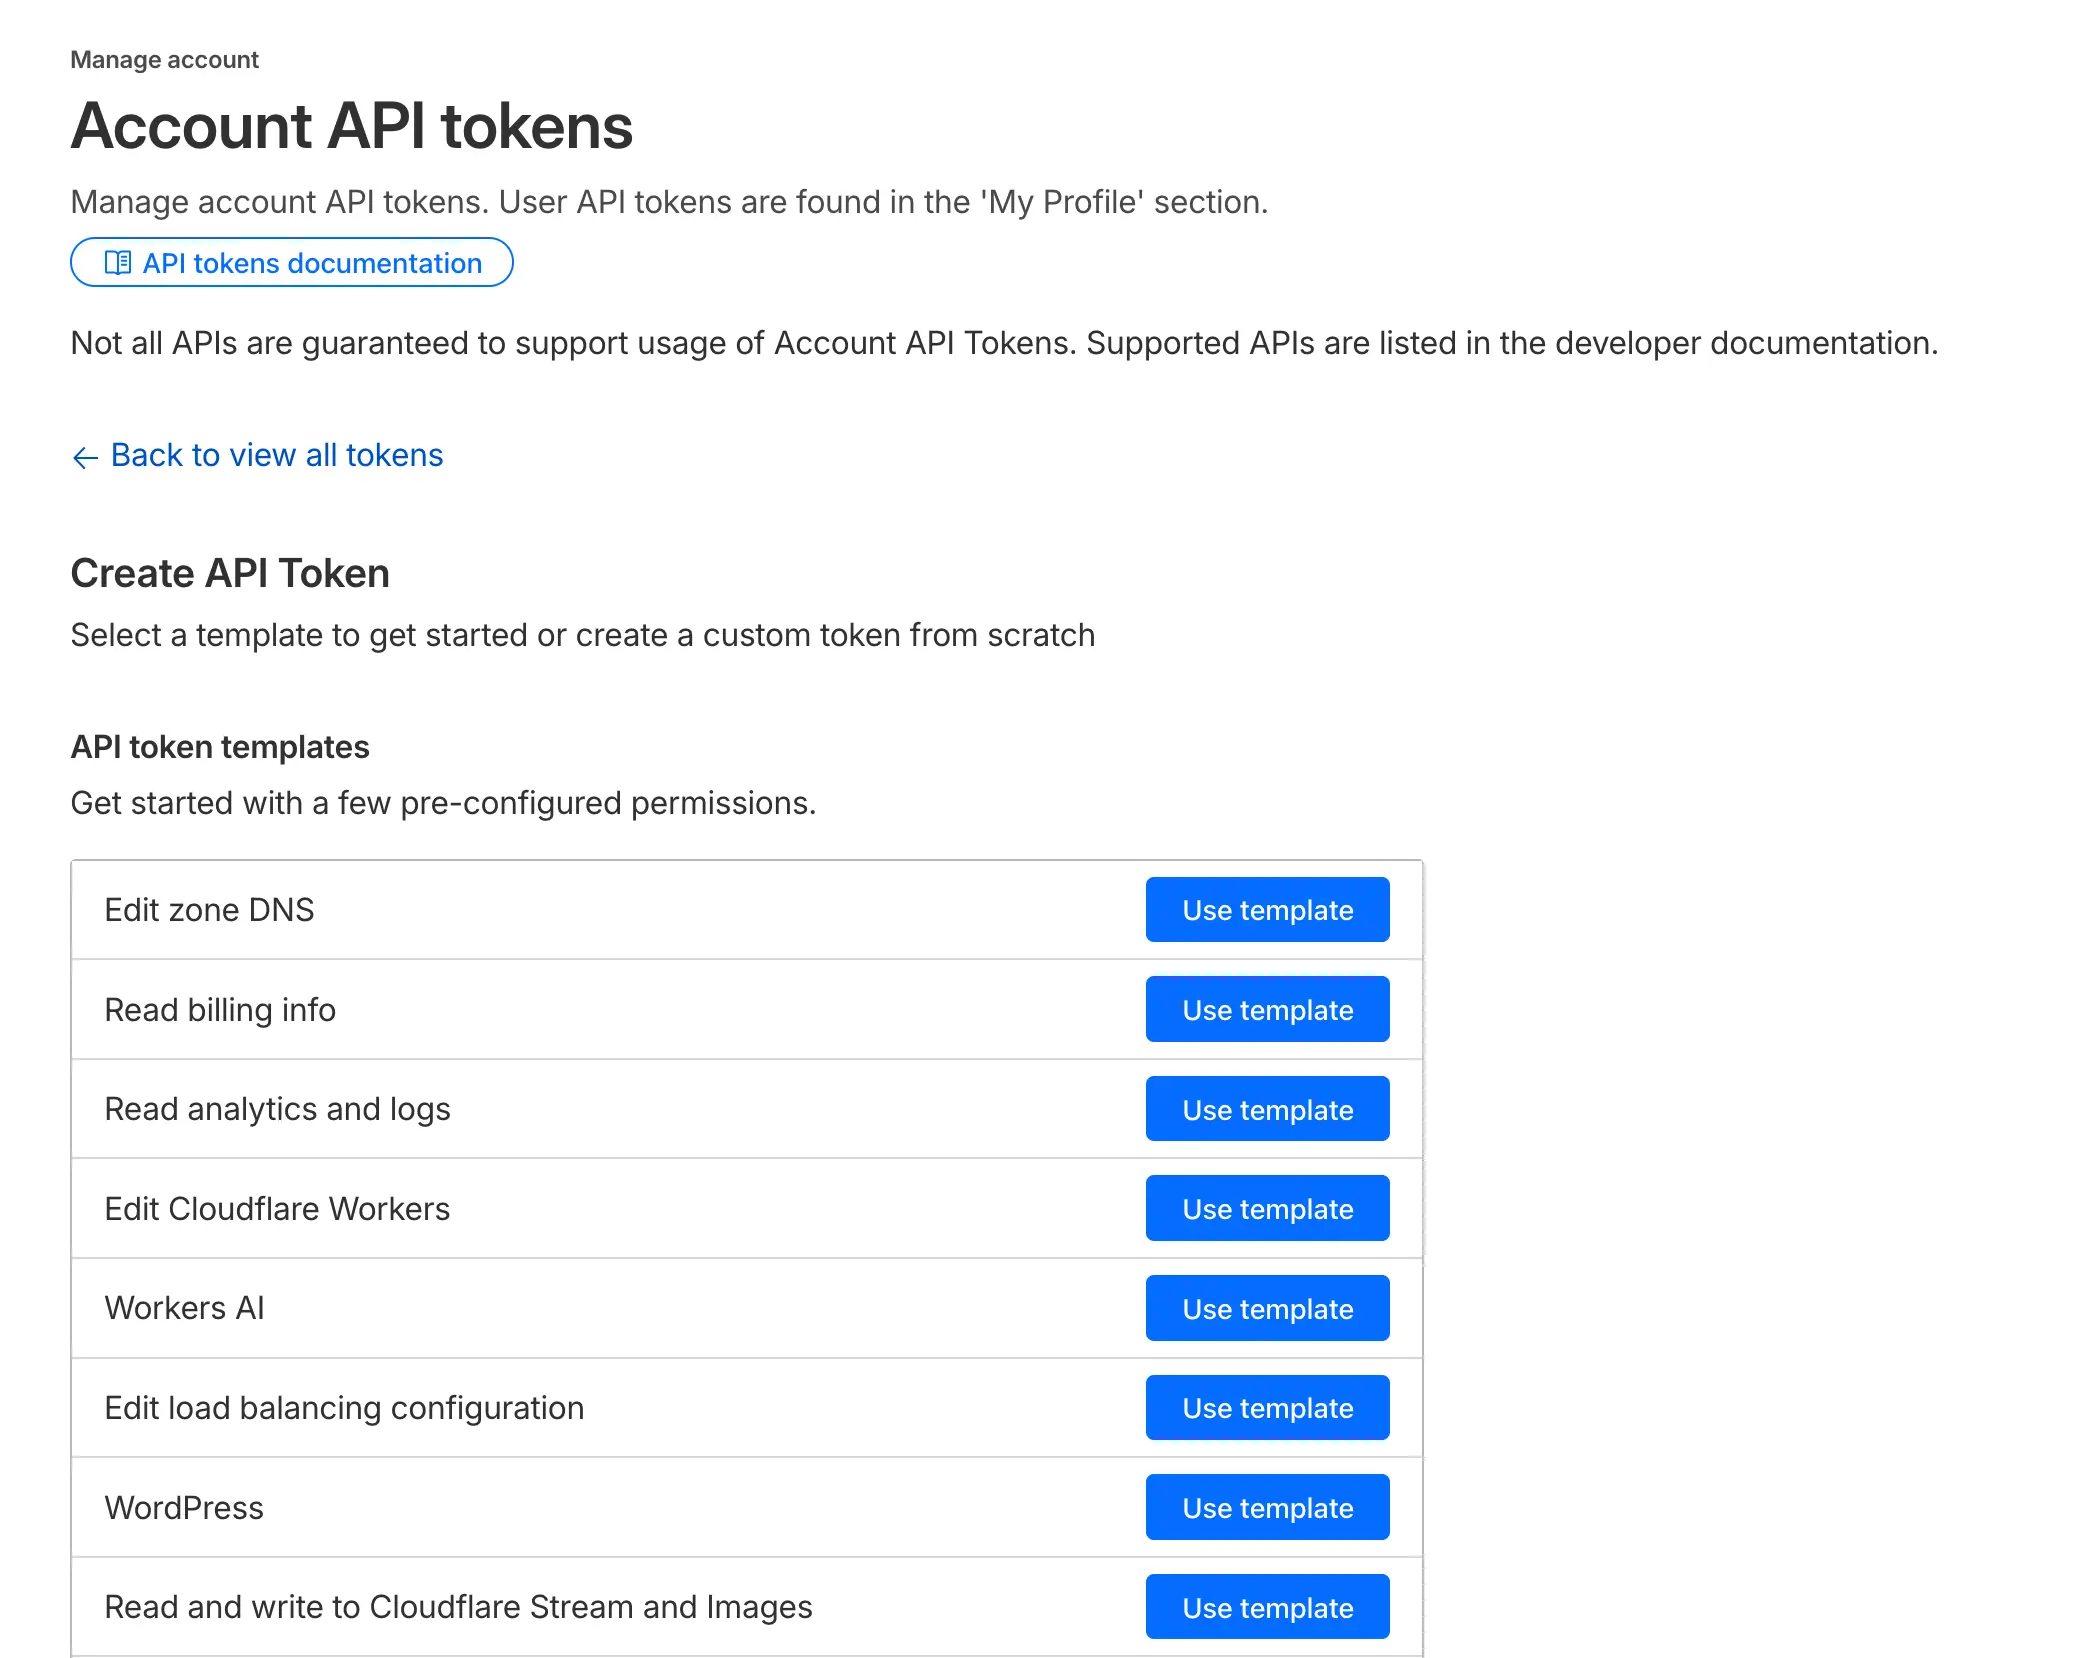

Select your domain in the Zone Resources section and leave everything else as-is. Click Continue to summary > Create Token and save the created token for later.
Configuration
The config file should have extensive comments and should be pretty self-explanatory. Here’s my own configuration file for reference.
$ sudoedit /etc/ddclient/ddclient.conf
ssl=yes
use=web
ttl=1
daemon=5m

protocol=cloudflare
zone=withzichen.com
login=token
password=<token>
blog.withzichen.com
$ sudo systemctl enable ddclient
$ sudo systemctl restart ddclient
Testing
Run the following commands to check if everything is working. If these commands take a long time to run, you may need to update your ddclient:
$ sudo ddclient -query              # Queries your external IP
$ sudo ddclient -daemon=0 -verbose  # Test Cloudflare DNS API
Remarks
Some astute readers might notice that I’ve already been running my server for more than a year at this point, and wonder why I’ve never set up DDNS. You see, I run my website and server at home using Comcast’s residential internet, and Comcast certainly does not offer static IP addresses for residential customers.
However, Comcast’s assignments of IP addresses to residential networks are known to be “sticky”; anecdotal evidence online included users reporting having the same IP for months and even years, provided their modem stayed online. Therefore, when I first created my server, I just didn’t want to go through the minor hassle of getting it to automatically update the DNS entry should Comcast change my IP. I would just change my DNS entry in Cloudflare manually every time my IP changes, which is very infrequent.
However, this would also mean that my website would sometimes be unreachable from the time Comcast decides to change my IP to when I discover the change by noticing that I can no longer connect to the website. Seeing as the server is now running quite stably for quite some time, I decided to finally solve this issue by installing a dynamic DNS software. As a consequence, this article is born.
Have a comment or a question about this post? Reply by email!